Mixed-Media Art Workshop
Whimsical Winter Village
A workshop in color, texture, composition & creative expression
Welcome to your winter village.
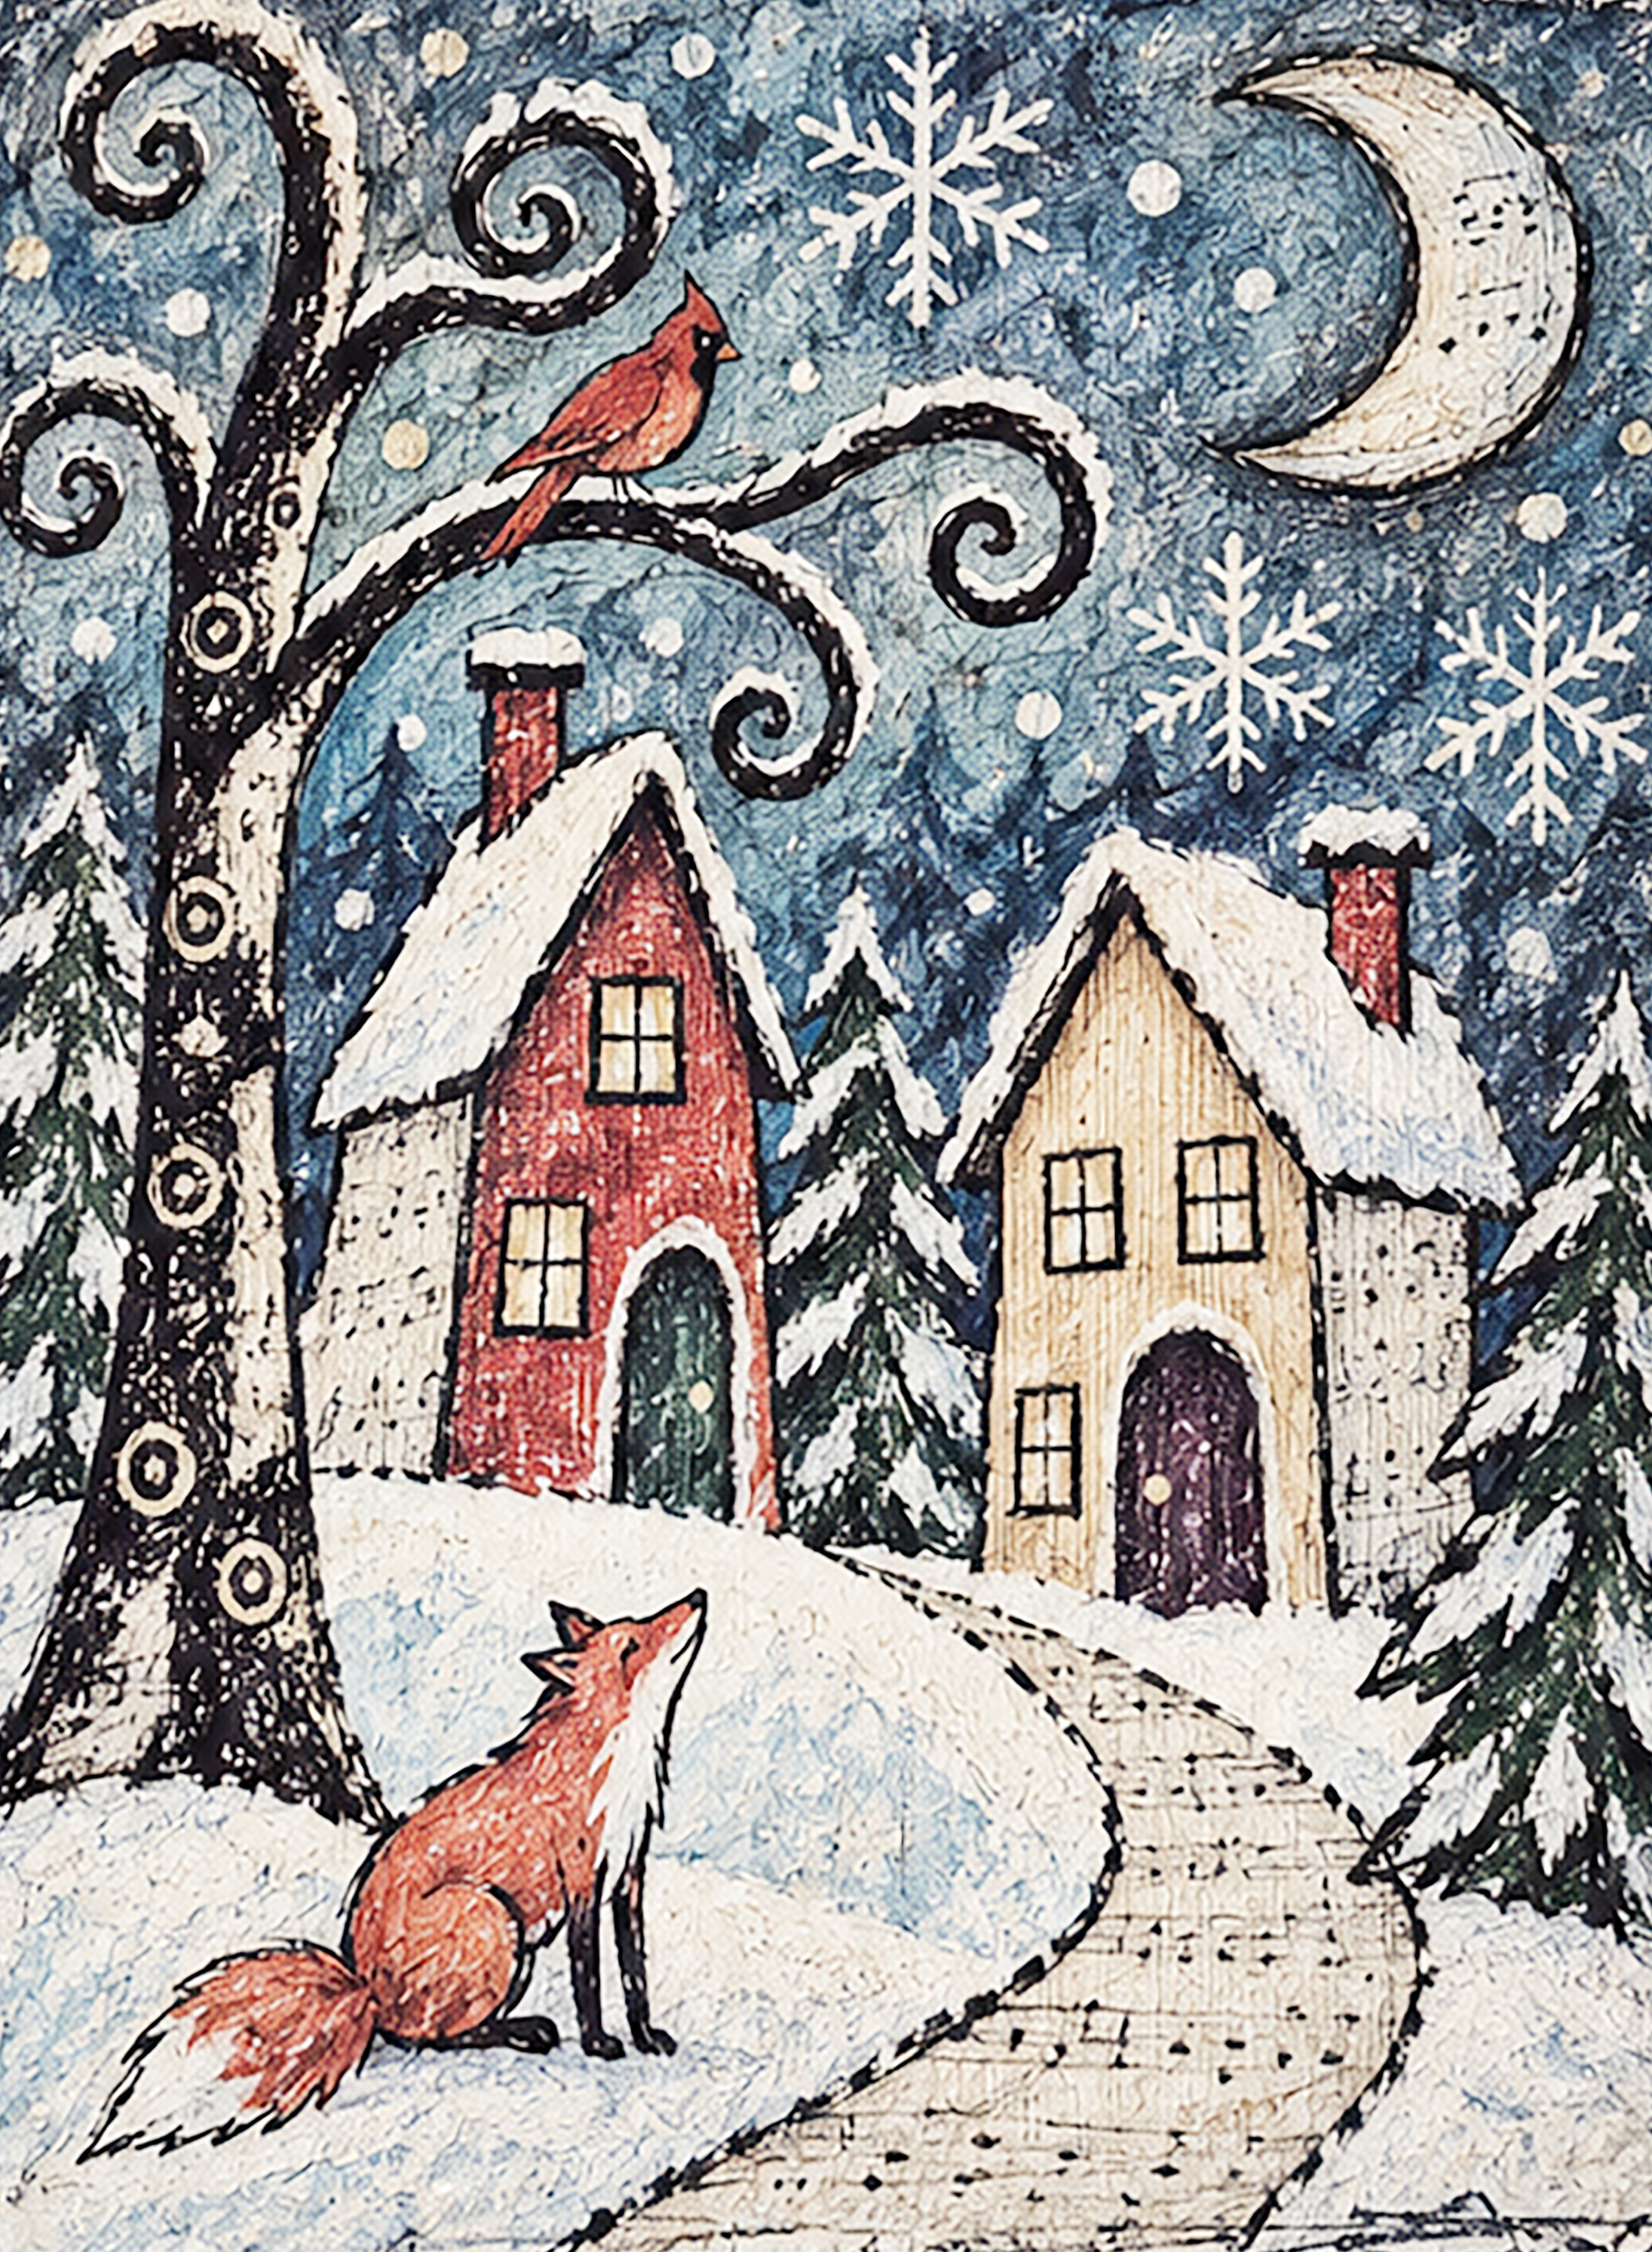
During this three-hour workshop, you will create a whimsical snowy landscape filled with colorful houses, rolling hills, evergreen trees, a winding pathway, snowflakes, and perhaps a small woodland visitor.
You do not need previous drawing or painting experience. We will build your artwork one layer at a time while exploring some of the foundations artists use every day: color, value, shape, texture, space, composition, and detail.
Your finished artwork does not need to look like anyone else’s. This is your village.
Begin Here
Choose How You Would Like to Create
Not everyone enjoys the same part of making art. Choose the approach that lets you spend your creative energy where you want it.
Draw Your Own
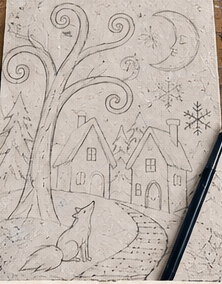
If you enjoy drawing, sketch your houses, trees, pathway, moon, and other village elements yourself.

Use the Composition Map
If you would rather focus on paint, color, texture, and detail, use the provided line drawing and transfer the composition onto your artboard.
Tracing is not cheating.
Artists have used transfer methods, grids, templates, tracing, and other tools for centuries. You get to decide where you want to spend your creative energy.
Artist Foundations
What You Will Explore
You do not need to memorize these ideas. You will learn them simply by using them as your painting develops.
Line
Lines can be straight, curved, delicate, heavy, energetic, or quiet. You will use them for branches, windows, rooftops, patterns, snowflakes, and details.
Shape
Houses begin with simple geometric shapes. Snowbanks, trees, branches, and animals use softer organic shapes.
Color
Cool colors can feel snowy, quiet, and distant. Warm colors can make a house, window, or focal point feel cozy and inviting.
Value
Value means how light or dark something is. Even white snow needs shadows to help hills and pathways feel dimensional.
Texture
Brushes, sponge foam brushes, dry paint, layered acrylic, and markers can create many different surfaces and effects.
Space
Background, middle ground, and foreground help create depth. Objects can also become smaller as they move farther away.
Get Acquainted
Meet Your Materials
Before beginning your finished artwork, take a moment to notice what each material can do.
Gesso
Gesso prepares your surface for painting and changes how paint moves across the board.
Acrylic Paint
Acrylic can be layered, blended, thinned, used thickly, or brushed almost dry to create texture.
Flat Brush
Helpful for backgrounds, snowbanks, houses, and larger shapes.
Round Brush
Useful for branches, trees, curves, lines, and smaller details.
Sponge Foam Brushes
Helpful for softly dabbing snow, building cloudy skies, adding texture, and creating distant landscape.
Paint Markers
Save these for windows, snowflakes, branches, patterns, highlights, and your signature.
A Little Color Theory
Your Color Discovery
Before painting your village, experiment with a few colors and notice how they change when mixed together.
Warm
Try crimson, red, yellow, rust, or gold.
Cool
Try blue, violet, gray, or green.
Tint
Add white and notice how a color becomes lighter and softer.
Shade
Add a small amount of dark paint to deepen a color.
Neutral
Mix colors together to create quieter, softer relationships.
Accent
Choose one special color and use it in only a few important places.
“If everything is special, nothing is special.”
Let one or two colors become your quiet little stars.
Build Your Artwork
Big Shapes First. Little Things Last.
Your painting will be built in layers. Do not worry about tiny details at the beginning.
Texture
Create the Texture
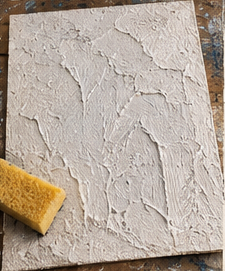
Begin by exploring the surface. Let the paint feel layered, soft, and handmade. Use sponge foam brushes, dry brush marks, and uneven application to begin building visual interest.
Texture gives the artwork character and helps the snowy village feel rich, tactile, and painterly.
Background
Paint the Sky
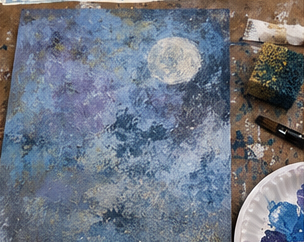
Begin with your largest area. Instead of one perfectly flat color, try adding white, violet, blue-gray, or a slightly darker area.
Let some brushstrokes remain visible. A handmade sky is allowed to look handmade.
Value
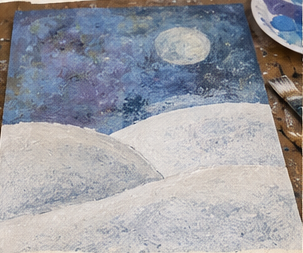
Build the Snow
Paint your hills and snowy ground. Add a touch of cool gray, violet, or blue beneath the white to create shadows and dimension.
Composition
Plan Your Village
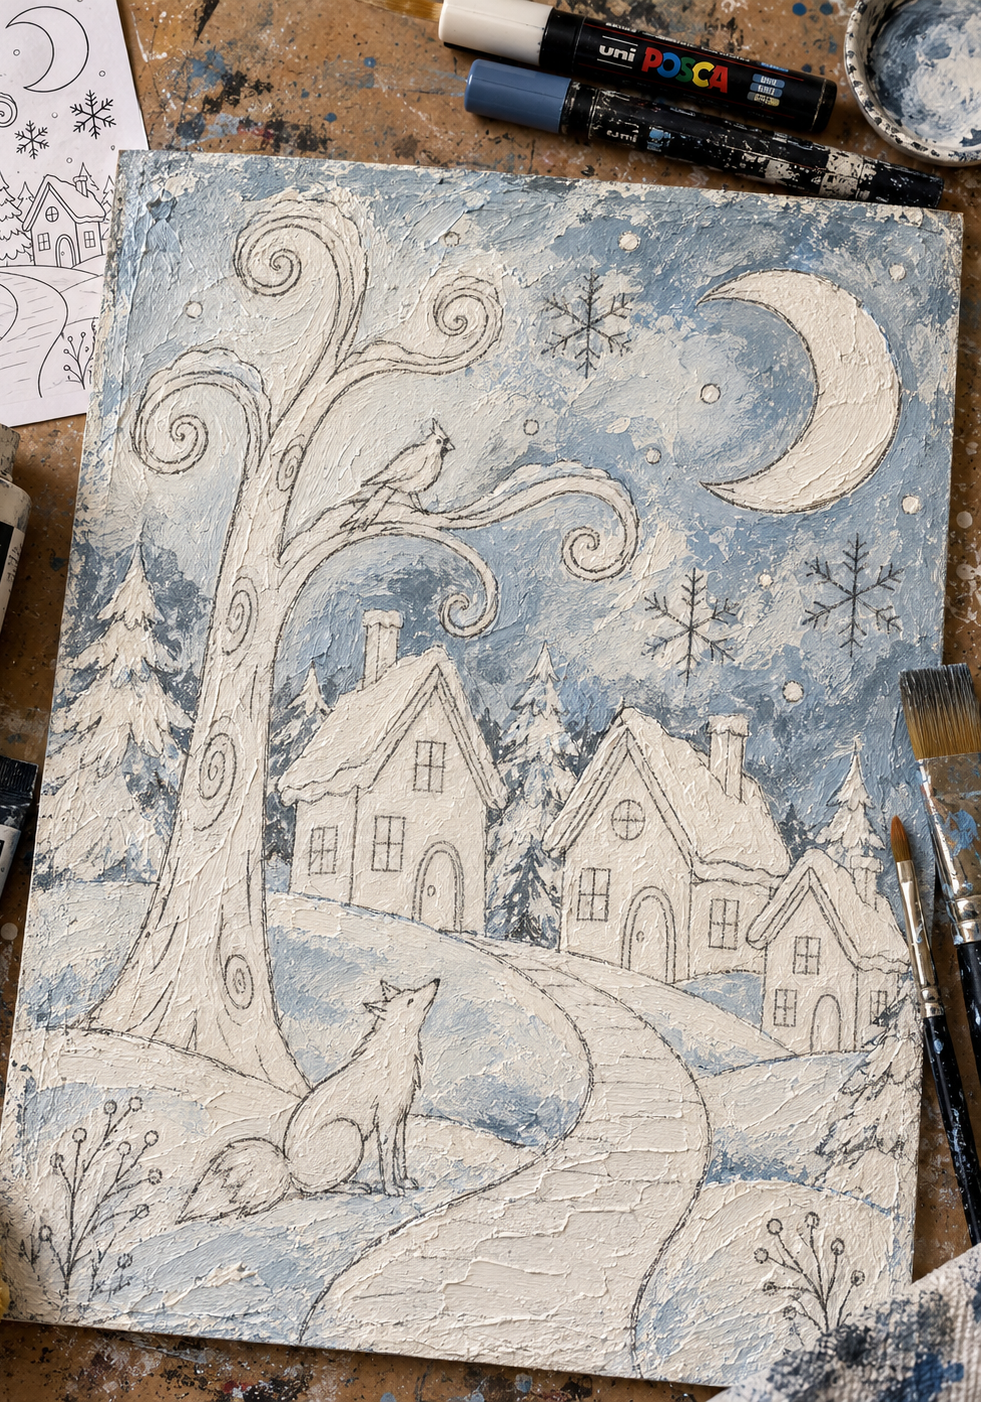
Draw your composition or trace your Village Composition Map.
Look for your largest shapes first. Where is the tree? Where are the houses? Where does the path lead?
Perspective
Create the Path
Make the pathway wider near the bottom and narrower as it travels toward the village.
This simple change helps create the feeling of distance and leads the viewer’s eye into the scene.

Focal Point + Organic Shape
Paint the Houses & Add the Trees
Begin painting your houses and choose one home that you would especially like people to notice.
Then add your trees and branches. Let them bend, twist, fork, and overlap so the village feels lively and full of personality.

Detail
Add the Magic
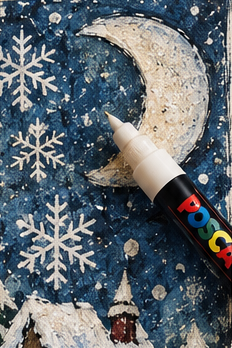
When the painting is mostly dry, use your paint markers for snowflakes, stars, windows, branches, patterns, highlights, gold accents, and tiny details.
Reflection
Stand Back
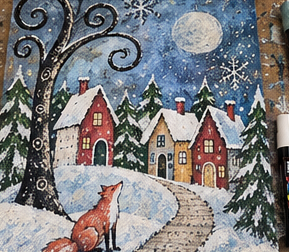
Place your artwork upright and look at it from several feet away.
Where does my eye go first?
Does anything feel too empty?
Does anything feel too busy?
Does it need one more detail — or is it finished?
One Last Step
Sign Your Work
You have made dozens of choices while creating this painting: which colors to use, where to place your houses, how dark the sky should become, which marks to keep, what details to add, and when the artwork was finished.
Those choices are what make the artwork yours.
There Is No Correct Village.
You are not here to reproduce someone else’s painting perfectly. You are here to discover what happens when your choices begin appearing on the page.